Printing a Sections.
For example, I'll take one section of our model, which we cut in the previous article.
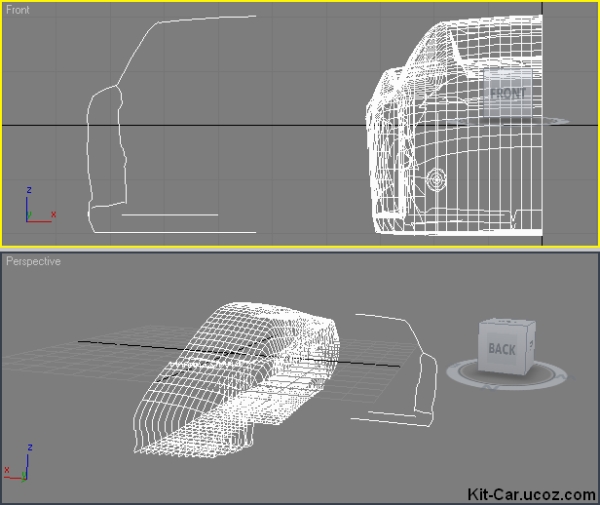
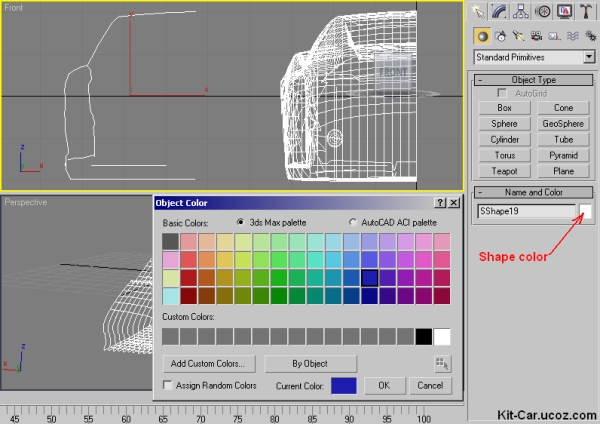
I repainted the shape to in blue color.
Click at color, and choose color which you want
Next i maximize "Front" Viewport. To "maximize" press button "Maximize Viewport Toggle" in the lower left corner.
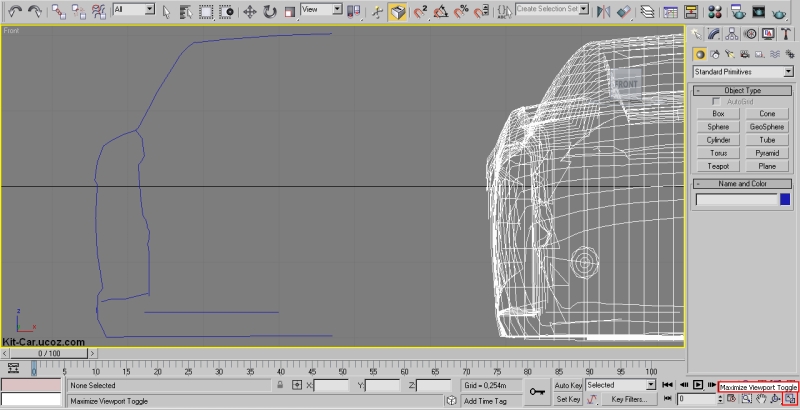
Next i will take a screenshot(Button on keyboard "Print Screen")
Open a "paint", and paste a screenshot in "Paint" (Edit > Paste, or press CTRL+V)

I cut only our shape. Create a new image and insert the cut shape.
I painted the background in white.
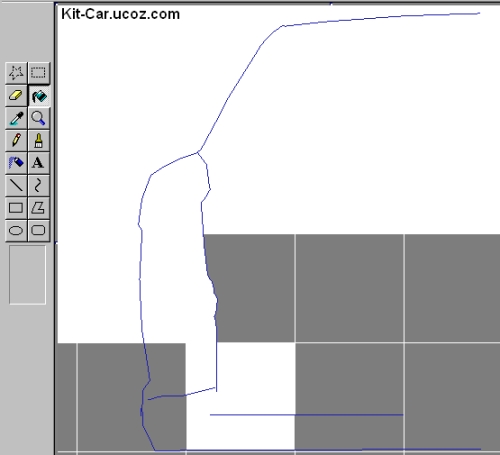
Now we have a clear shape.
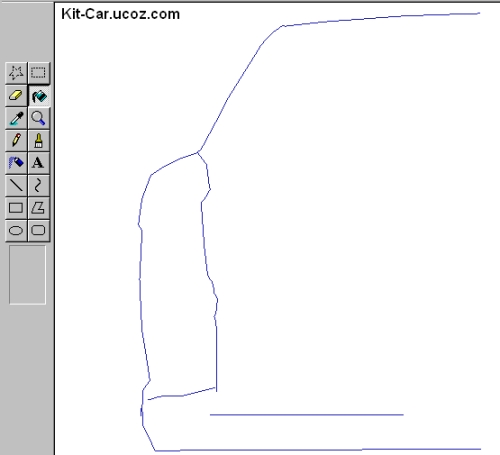
Now we need to align a shape on the Limits of images.

This must be done very carefully so as to obtain maximum accuracy.
Here is example connection limit of shape, with limits of pictures.
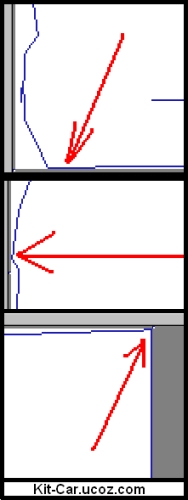
If you all did right, save picture as ***.bmp(24-bit, for best quality)
Now we have:
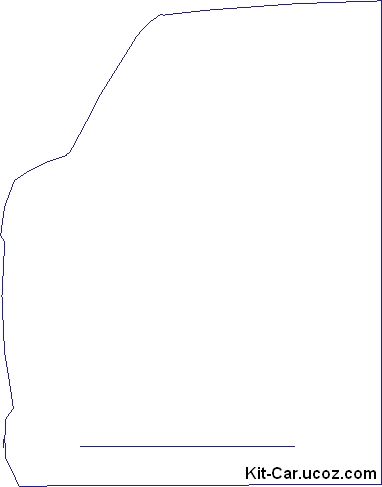
Our shape have sizes:
79,6 x 101,7

Laste step.
Open a program for print big posters - AcePoster Or ProPoster
(Can download from our site Here)
Insert a size of shape and print :)


I repainted the shape to in blue color.
Click at color, and choose color which you want

Next i maximize "Front" Viewport. To "maximize" press button "Maximize Viewport Toggle" in the lower left corner.

Next i will take a screenshot(Button on keyboard "Print Screen")
Open a "paint", and paste a screenshot in "Paint" (Edit > Paste, or press CTRL+V)

I cut only our shape. Create a new image and insert the cut shape.
I painted the background in white.

Now we have a clear shape.

Now we need to align a shape on the Limits of images.

This must be done very carefully so as to obtain maximum accuracy.
Here is example connection limit of shape, with limits of pictures.

If you all did right, save picture as ***.bmp(24-bit, for best quality)
Now we have:

Our shape have sizes:
79,6 x 101,7

Laste step.
Open a program for print big posters - AcePoster Or ProPoster
(Can download from our site Here)
Insert a size of shape and print :)


Tutorial By Kit-Car.ucoz.com


